- MN ABE Connect
- Archive
- Jammin’ on Jamboard
 March 15, 2021
Jammin’ on Jamboard
 What is Jamboard?
Jamboard is a Google app that allows you to create free virtual whiteboards where people can collaborate. Jamboard allows you to present as you teach, give students an interactive place to work together, and assign asynchronous work.
Why Use Jamboard?
Jamboard is the tape and index cards of virtual teaching. It’s simple but flexible enough to replace the functions of several other interactive tools. This means you and your students can master one tool instead of trying to learn a different tool for each new function. You can substitute Jamboard for other interactive tools such as the annotate function of Zoom; Pear Deck’s check-ins and assessments; the graphing, sketching, and card sorting in Desmos; Mentimeter’s surveys and polls; and the ability in Teacher Made to turn paper worksheets into digital assignments.
There are some important differences between the web version (what you see when you’re using a laptop or a PC) and the mobile app (what you see when you’re using a cell phone or tablet/iPad). Since so many adult learners are relying on mobile devices, it’s good to be familiar with these differences so you can plan accordingly.
The main differences are:
- Students on mobile devices need to download the app before they get started. They should click the link to the Jamboard twice. Once will prompt them to open (or download the app) and the second time will navigate to the specific jamboard you’re using.
- The tool bar for mobile devices is more condensed. Some of the tools, including the very popular sticky notes, are hidden under the plus sign (at the bottom of the vertical toolbar on the left). Just instruct students to tap the plus sign and then choose the tool they want from the list that appears.
- Gifs and images appear differently between mobile devices and computers. For consistency, you can focus on using these primarily when you are sharing your own screen.
If you’ve never used Jamboard before, here’s a beginner’s guide video to help you get familiar with the tools discussed below.
5 Ways To Use Jamboard
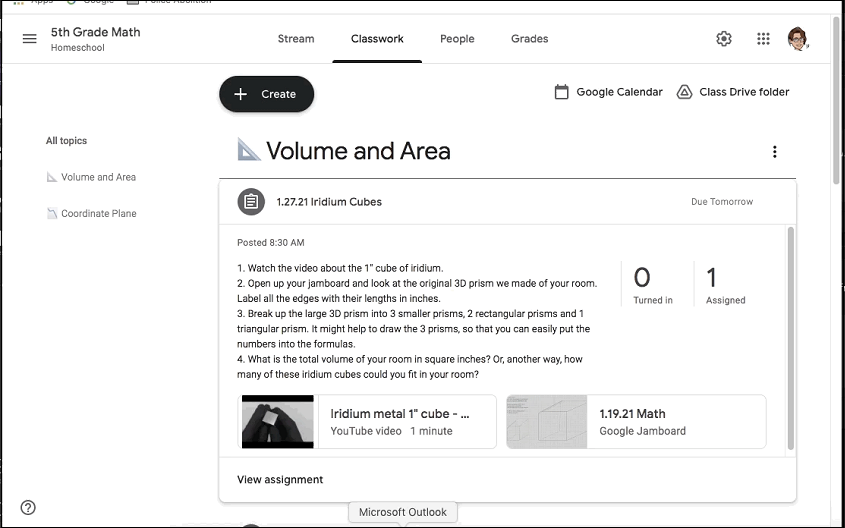
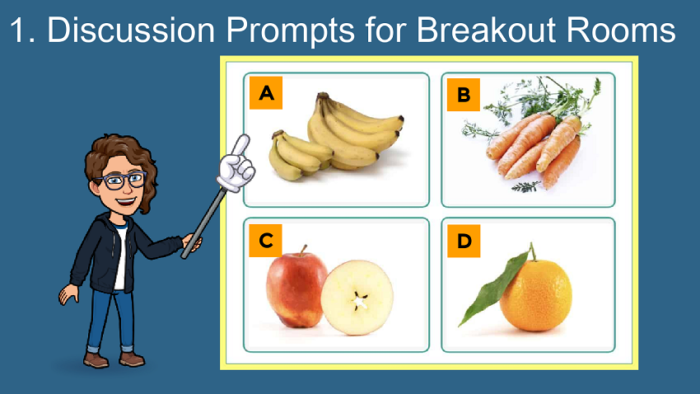
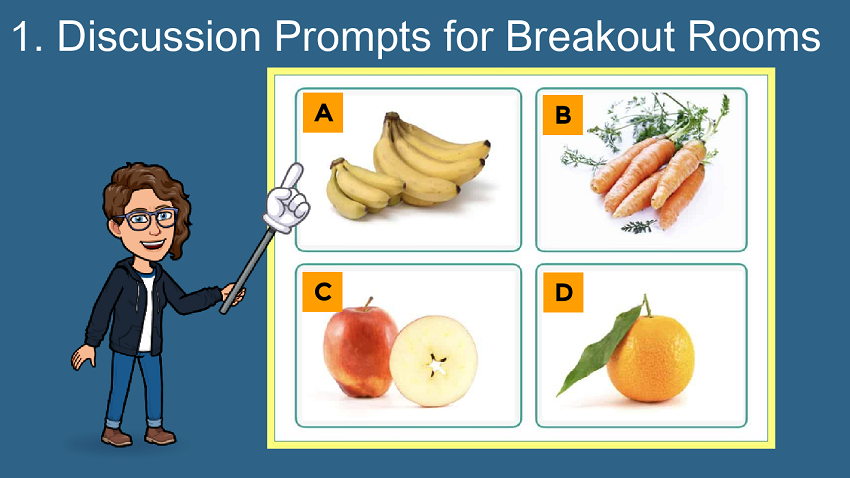
1. Breakout rooms
In many video call platforms, after entering breakout rooms, students lose the ability to see what you’re sharing. One way you can work around this is to have students open the jamboard before entering their breakout room. They can see the images, instructions, or other tasks you have for them to complete while in the breakout room.
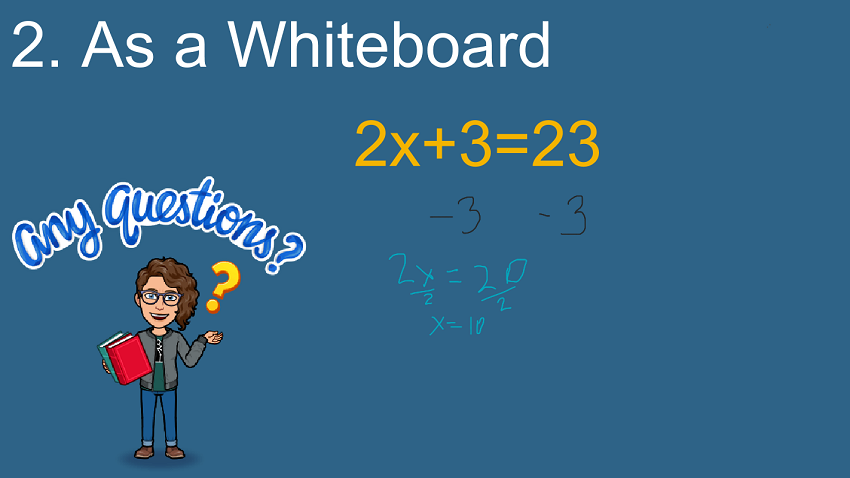
2. As a whiteboard
Jamboard is, at its core, a digital whiteboard. The pen tool is easy to find and use on both computers and mobile devices. It also makes it easy to show work involving mathematical symbols that are difficult to type.
If students have a hard time writing small enough, they can use the zoom tool to zoom into the part of the screen they are writing on. Then, when they zoom out, it will take up less of the total frame.
3. Interactive Learning
A major challenge of distance learning is finding ways for students to work in groups and collaborate. Since Jamboard is a Google app, you can click the “share” button in the upper right hand corner and set it so that anyone with the link can edit.
Using the various tools in Jamboard you can have students create a sticky note bar graph, highlight and annotate a text, or check in about their progress.
If you want breakout groups to each show their work, you can easily duplicate your frame in Jamboard and add a sticky note to indicate which group should work on which frame.

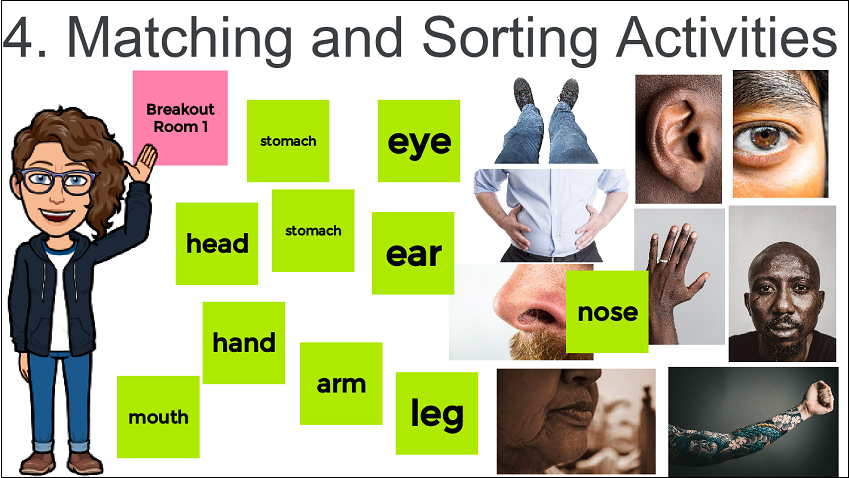
4. Matching and Sorting Activities
A great review strategy is to use the sticky notes or images tool to put terms and definitions on the screen for students to sort. Using the “set background as image” tool, you can also insert graphic organizers for students to use.
5. Submitting Homework
Jamboard can also be used asynchronously for students to submit homework. The image tool allows you to add screenshots of paper or digital worksheets. You can assign the jamboard in Google Classroom and set it to, “Make a copy for each student.” This allows students to submit their work in whatever mode is most comfortable for them: the pen tool or sticky notes, or even work completed on paper and can be submitted by adding a photo of their notebook onto the jamboard. You can add feedback and comments directly onto the jamboard.